Thursday, September 15, 2011

Homemade Dry Erase Board!

Picture Frame Transformation...
I want to introduce you to the 'Affirmation Board'.  I have to say I stole the 'Affirmation Board' idea from my friend Rachel who has one in their bedroom to write awesome things to her husband.  Check out one of her posts to her awesome husband Phil:
I started thinking about dry erase boards and how boring they are... Even the cute colored ones aren't too exciting...  After writing on our mirror one day it occurred to me that any picture frame could become a dry erase board!  

Plus how cute would it be with scrapbook paper behind the glass - or even better scrap fabric - the thought makes me smile!  I love picture frames that aren't the normal 8x10 or 5x7 shape - something odd or fun or different just appeals to me (I LUV round or oval frames not that they are very good for pictures but for this - PERFECT).

Today I found this long frame at Goodwill for 2.99 (more than I wanted to pay but still the shape was perfect for my space).
First I popped out the picture and glass.  I wiped off the frame and used window cleaner on both sides of the glass.  Since natural wood doesn't really work in our bedroom I used some spray primer & paint I had on  hand to give it a simple black make-over.
It also occurred to me that it would be MUCH more romantic to use our pictures than scrapbook paper or fabric ;-)  This was really simple - I inserted color pictures into a word document - I formatted the pics to the lightest gray I could (you could use a pink frame with pink washout pics or any combo).  Then I cut the pictures and laid them out over the backside of the ducks.  I used spray adhesive to attach the pictures to the cardboard.  (If you were using fabric I would wrap it over the back of the cardboard for a clean edge and tight fit.
After I had the pics adhered to the cardboard and the paint was dry on the frame I put the glass back and then the picture cardboard in.  Finally I needed a cute way to hang it and a way to attach the dry erase marker.  I used some left over ribbon and staple gun to attach the ribbon.
I used 2 staples on each corner of the ribbon hanger and 2 on the side where I attached the marker ribbon.  I hot glued the marker to the opposite end of the ribbon. Finally I hung the new 'Affirmation Board' aka Homemade Dry Erase Board transformation from a picture frame!
It says 'How do I love thee???  Let me count the ways...' 
Then I used 4 fun pics of us together.  

Now if I had used fabric or scrapbook paper I wouldn't be able to have as much fun doing this...
I did write a little love note to my wonderful husband (after I had fun drawing on our faces...)

This was such a great project I'm on my way out to my favorite 'cheap' thrift store tomorrow to see what I can find.  I think every bedroom in our house needs an Affirmation Board - its a simple way to remind each other and our kids how much we love and appreciate them.  

This is a great way to encourage a child each morning too!!  Of course you could personalize the inside to suit the child - sports, pets, fun colors, possibilities are endless!

Check out some of my others (for sale at ReHab Fab downtown Van Wert Ohio)

Black & Animal print
This is my favorite so far - thick frame with classic background
Little Girls Ballet Board
Perfect for a babies room.

Wednesday, September 14, 2011

Just Add STRIPES!

IMG_4783 (481x640)

What do you do with an old white shirt that has NO personality?

IMG_5628 (640x480)

You sew on some stripes, that’s what you do!

IMG_4787 (640x480)

I have a feeling I’ll be wearing this shirt A LOT this fall/winter! I may even try this on a few other plain old shirts that I never wear because they’re so blah or so old. It’s definitely a simple applique to do & it wears so well! The hardest part was finding the time to make it!

IMG_4782 (481x640)

IMG_4783 (481x640)

What do you think? Would you wear it?

Check out my party page to see where I’m linking up!

Time for a GIVE-A-WAY

Remember a couple weeks ago when I promised a super awesome GIVE-A-WAY when we hit 50 'likes' on Facebook or Blogger?  
We're there!!! 
(In fact at this moment in time we're at 65 on Facebook & 21 on Blogger).  
 
If you're already liked or follow TSRS you're already entered to win!  I'm drawing a name Friday night Sept 16th so there is still time to 'like' or 'follow' and WIN!!  

Want multiple chances to win?  One entry for each of the following:
1. 'like' Thrift Store Rock Star on Facebook
2. 'follow' this blog on blogger
3. comment on this post for a bonus entry by letting me know what your favorite past post has been or what you would like to see on this blog!


What are you waiting for?  You know you want to win something totally awesome!

Tuesday, September 13, 2011

Tasty Tuesday!!

Tasty Tuesday - Family Recipe Time

This recipe goes back generations!  This recipe goes back beyond the days of having a fridge in your home...  Coconut Ice Box Cookies
(I rarely make these because honestly they rarely make it out of the 'ice box' to the oven - the dough is SO good)

Here is what you need (you could easily 1/2 this recipe):
1c Blue Bonnet
2C brown sugar
3 eggs
1.5t vanilla
(cream the 4 above ingredients in large mixing bowl)
.5t salt
2.5C flour
1.5t baking soda
(sift above 3 ingredients together in separate bowl)
3.5C Quick Oats
2C Coconut
1C chips (we like 1/2 c mini chocolate chips & 1/2 c butterscotch chips)
Mix flour mixture into creamed mixture - add in Oats, Coconut, Chips
(I will warn you this is a THICK dough - I've killed 2 mixers on this recipe.  My Kitchen Aid (which I personally think EVERY kitchen needs - its totally worth every penny!!) does fine, mixes with ease).
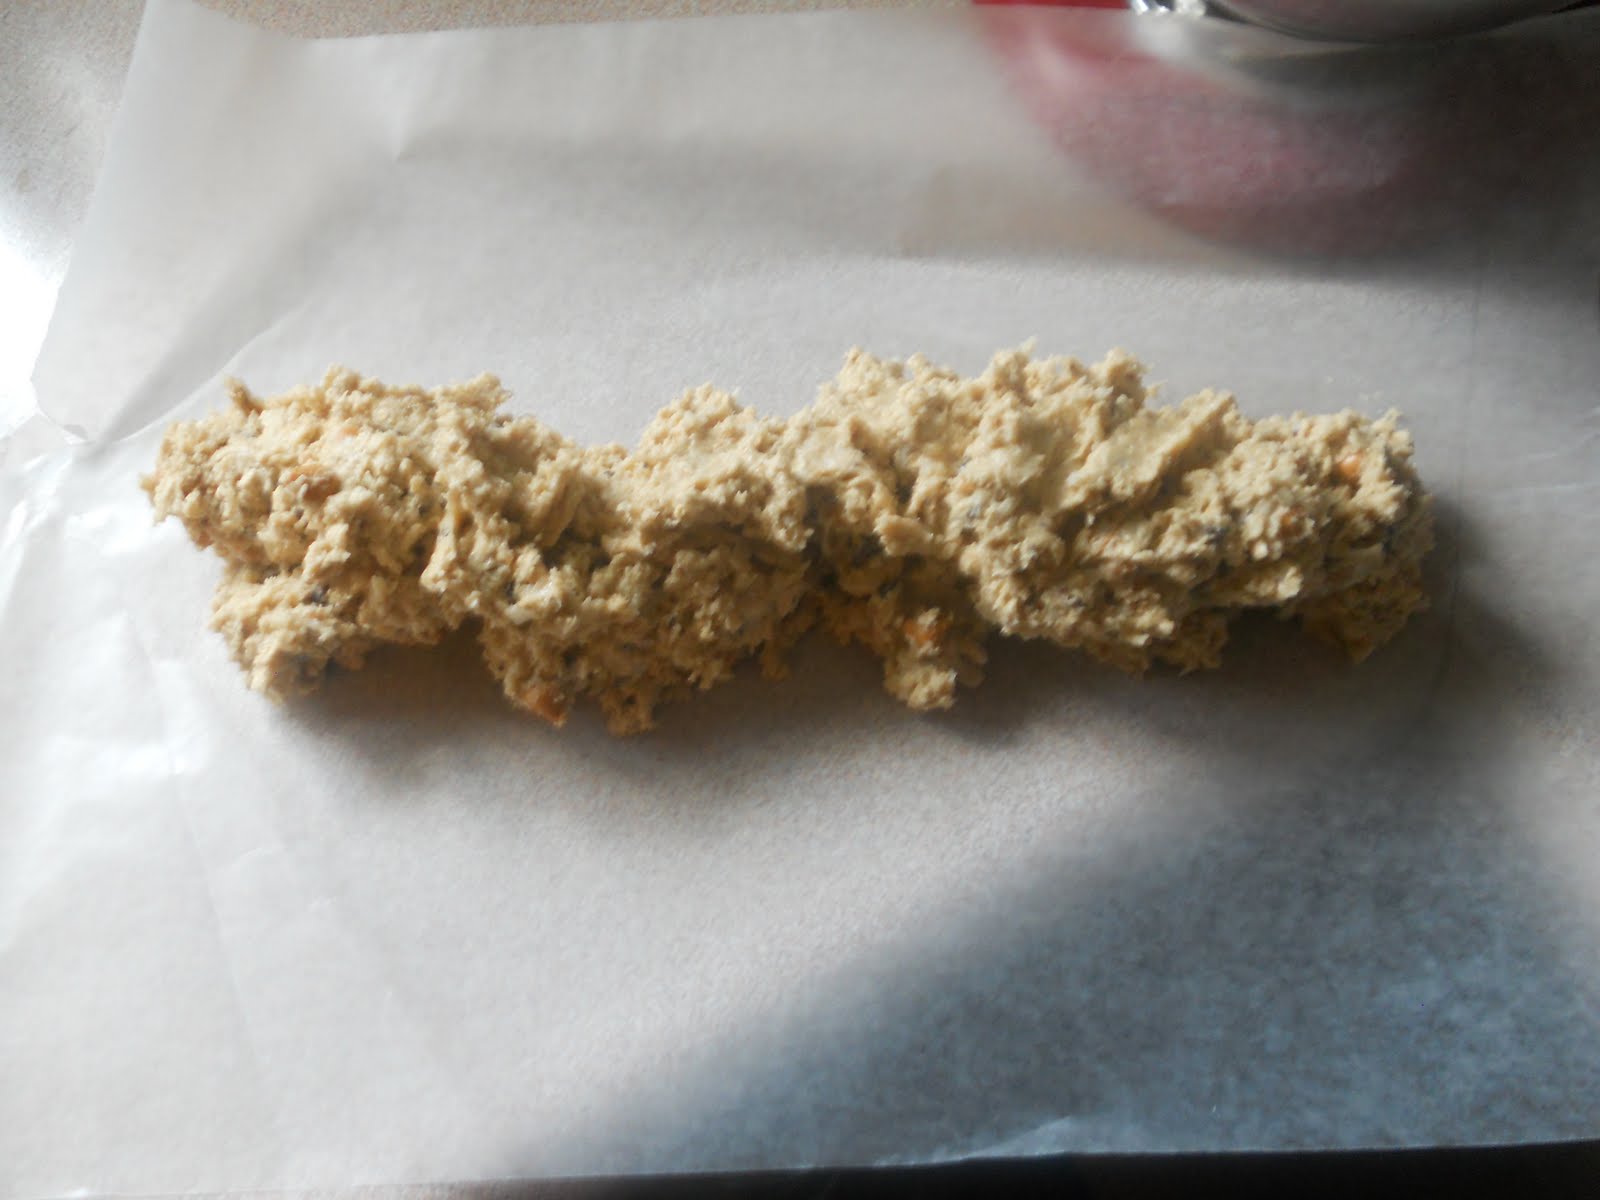
Lay out about 24" of wax paper on a table - spoon dough onto the paper.
Roll the paper over the dough and put in the 'ice box' until ready to bake (my recipe made 3 rolls of dough - depending how big you want your cookies.
When you are ready to bake cut the dough into slices and place on greased cookie sheet or parchment paper (one of my favorite things)
Bake - 375 for 10-12 min.
Then time to eat!  These also freeze great in a Tupperware for up to 3 months!

Monday, September 12, 2011

Homemade Splash Pad

IMG_5659 (481x640)

It’s the end of summer. It’s been hot, most days, and my kids are getting BORED with all of the same toys they’ve been playing with ALL summer long.

Sound familiar to anyone else?

Well, when my friend Karen posted something similar to this on Facebook, she told me “Necessity is the mother of invention.” How true, how true! And behold, the homemade splash pad was born! AKA – The Hillbilly Slip-N-Side!

IMG_5641 (640x480)

Here’s how I made ours:

I had a couple of those cheap plastic paint tarps laying around, still unopened. And on a day when my kids were going NUTS from boredom, I whipped one of those $2 tarps out, put on our swim suites & we headed out the door. I laid the tarp in the grass, hooked up the trusty spinning Elmo sprinkler, squirted baby soap all over the tarp & said, “Let the fun begin!!”

IMG_5646 (505x640)

The laughs could be heard for miles!! 

IMG_5656 (480x640)IMG_5660 (472x640)

IMG_5655 (640x480)

IMG_5669 (640x480)

*As with any water play, use caution when playing in the splash pad with children. There’s a lot of slippery slipping & sliding & splashing going on. Join in the fun, adults! And play with care!

Sharing the fun with these parties!

Dress Form Makeover

Dress Form Makeover

Do you have that one item that you always keep your eye out for when you're shopping?  I'm always looking for a dress form at auctions and thrift stores and garage sales.  It would make a great gift *hint*hint* or if you've got one laying around you'd like to recycle to me I'd be ever so delighted!

I'd love to have one to decorate with as well as be functional so I could 'play' with design and see it in 3D.

Until then... I was super excited to find this little lady at a Goodwill Store in Ft Wayne Indiana.  I highly recommend the Goodwill off Exit 25 on 469!!  It was super neat and clean and the employees were very friendly and happy to be working.

Here she is my $5 bargain!
We'll call her 'Goldie' - she doesn't look so good above...  She's a candle holder but I think she'll make a great place to hang some necklaces on too!!
Here is 'Goldie' in her own little black dress (aka Rustoleum Gloss Spray paint).  What a BIG difference a little spray paint can make!

I also found this awesome lamp there - I'm not sure what to do with it... It's one of those pieces that caught my eye right away but I left alone because I really didn't know what to do with it...  Either way $5 later he's mine - we'll call him 'Blue Bandit' since he stole me eye the first time I laid eyes on him...
Any idea what to do with him or where to put him? 

Don't forget to 'like' TSRS on Facebook or 'follow' TSRS on Blogger to win!!

Sunday, September 11, 2011

'Like' Thrift Store Rock Star on Facebook - GIVE A WAY

Come 'like' Thrift Store Rock Star on Facebook and keep up with every post the same day they go live!!  Or 'like' Thrift Store Rock Star and catch up on all the old posts you may have missed!
 

BONUS - When Thrift Store Rock Star reaches 50 'likes' on Facebook I'll do a random give-a-way to one of you followers/likers.  
So become a follower of this blog Thrift Store Rock Star or 'like' our Facebook Page to be able to win the totally free totally awesome give-a-way (when we hit 50 Blog Followers or 50 Facebook Likes)!  

If you do both you'll be entered in twice to the random draw!!


What are you waiting for?  You know you want to win something totally awesome!

Printer Friendly View

Related Posts Plugin for WordPress, Blogger...