Tuesday, April 19, 2011

Eli's 1st Birthday

Ohmygoodness!
Here we are 3 weeks later &
I just realized that aside from the post about my polka-dot garland,
 I never shared Eli's 1st birthday with you!


Our baby turned 1 on April 3rd...yep, it's been a year already.
I think just about every parent feels like their baby's first birthday approaches quicker than they would ever expect.
That's certainly the case for us!
As I told you in this blog post, we decided to throw a Mickey Mouse birthday party for Eli. It turned out great!
Rather than making all of our families travel to us & our small house, we took a lil road trip to them & had the party at my sister's house (The Thrift Store Rock Star).
Thanks Aunt Chelle & Uncle Pat for letting us borrow your house!


Grub time!
Our families are awesome!
They all helped us with the food which totally took my stress level down when it comes to party planning.
My dad made an amazing Mac & Cheese, Gram made her super yumm-o potato soup, My sister made an asian slaw & butterfinger grape salad dessert (recipe here), and mom & I supplied the fixings for turkey sandwiches & subs. Thank you family!!
 My talented Mother-in-law made Eli a Mickey Mouse cake!
It was awesome!!!!
So detailed & so cute! It was perfect - and delicious too!

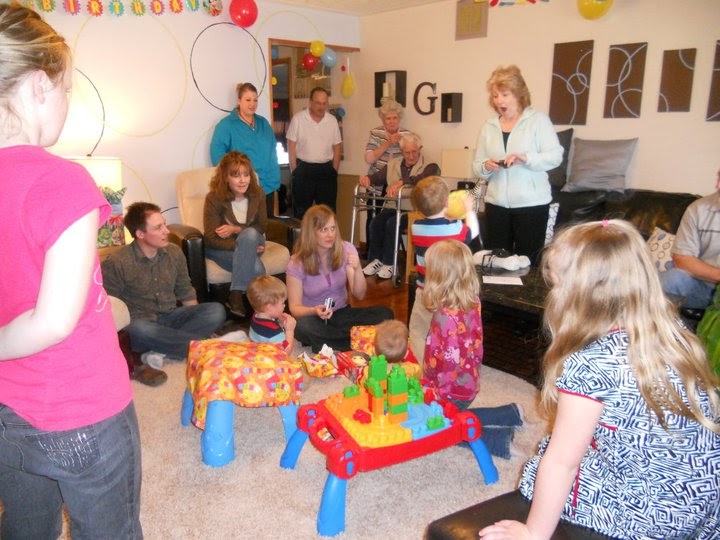
All this singing!! For me??!!

 See that sneaky two year old in the corner?
He was quick to help Eli blow out his candle!

 He wasn't sure what to do with that giant Mickey shoe at first...but he figured it out!

He was pooped after all that singing & cake!
Hahahahahaha


Present time!
Eli got some great presents! He was given a mega block table, an activity table, a rattling ball that looks like a chicken, a bug themed drum/instrument set, a glow worm, some cars, books, a piggy bank & conviently some money to put in it!

The kids had fun playing with Eli's new toys!
We enjoyed the party with our very special family & close friends.
The Sweet Hillery Family & Our surprise guest!
She joined us all the way from Massachusetts!
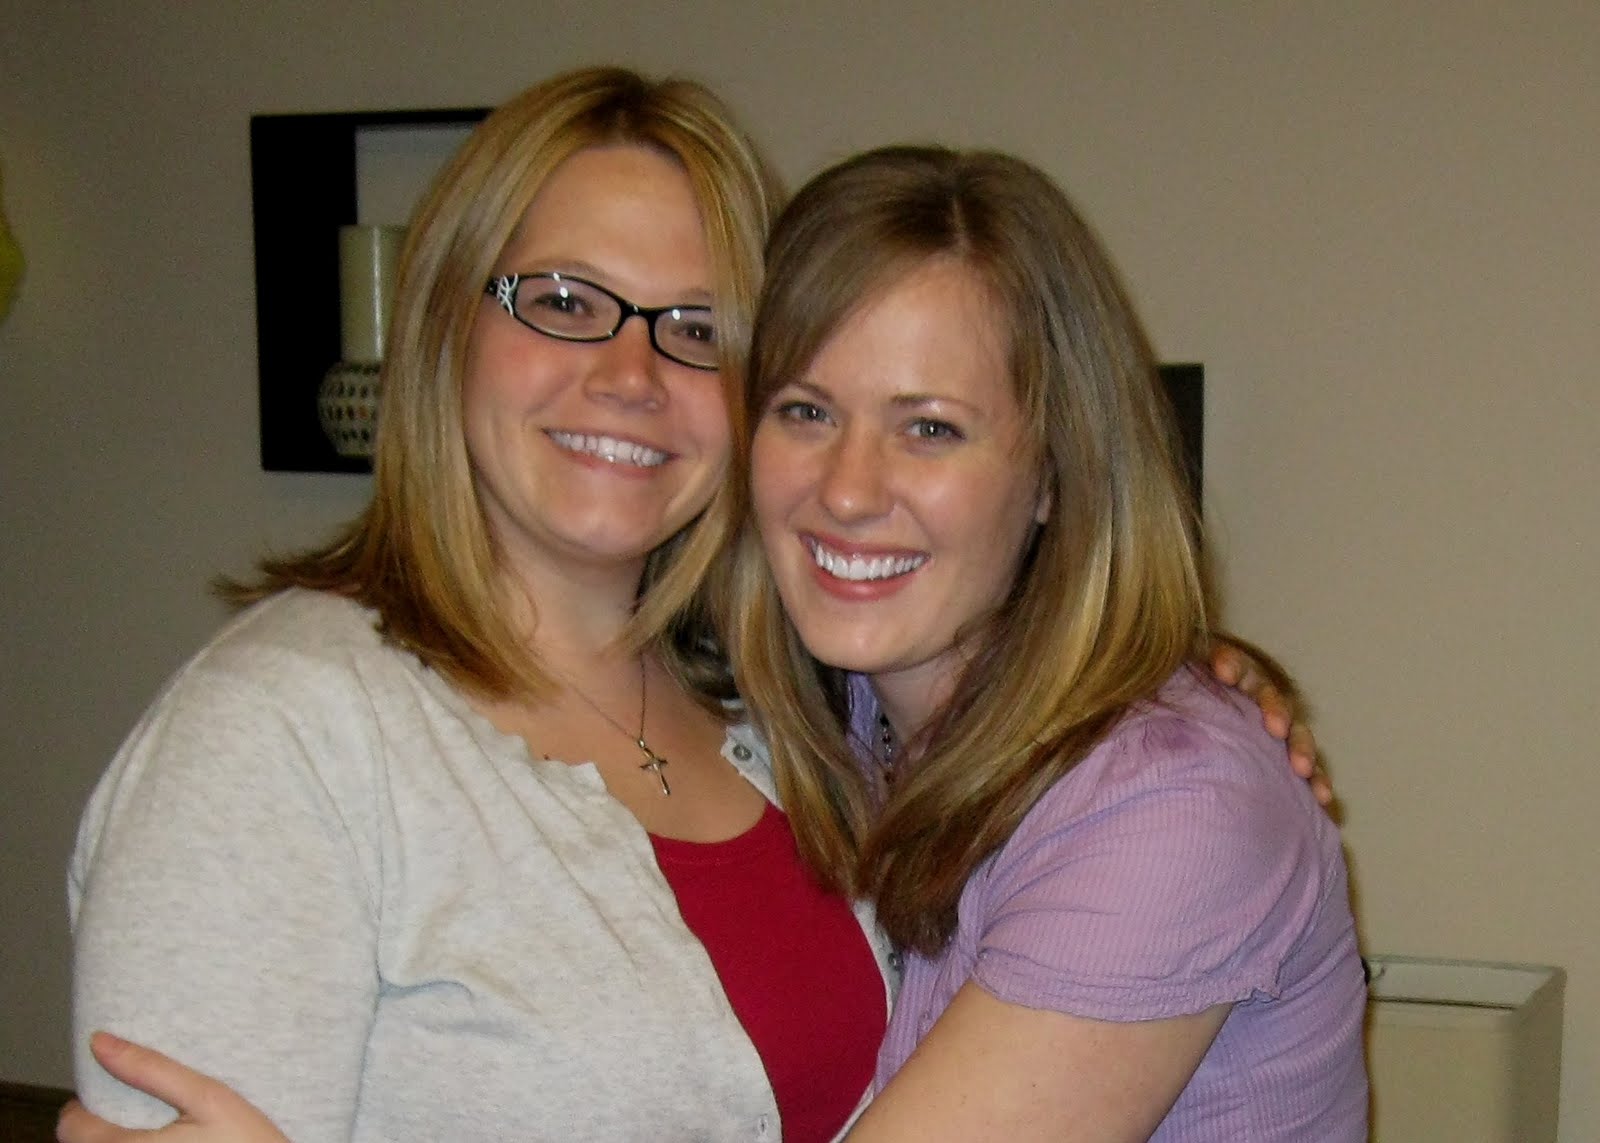
Me & My Ashley Marie
(mentioned earlier in this post)
She's so good at surprises & I LOVE IT!


Saturday, April 16, 2011

Evolution of a shirt... into a necklace??!!

So there is this blog that I love to check out... For sometime I've been wanting to try their shirt to necklace makeover.  I came across the perfect shirt at a Thrift Store for $1.
I followed THIS simple tutorial (it took me literally 15 min start to finish).
 CHECK-IT-OUT!
Super Cute - Super Easy 
(Plus no metal touching my skin!  I'm hyper sensitive to ALL metal's ~ even wearing jeans breaks me out some days.)  
This is a great way to re-use a shirt that maybe got stained or has a hole in it!  Could also make a great gift for someone with nickel allergies too!!

PLUS CHECK OUT my weekend bargains!!  
Shopped a Kohl's Clearance with Mom's 30% off Coupon!
 ELLE Cardigan - Regular 49.99 ~ I paid 7.00!
 Candies High Heeled Beauties!!  Regular $59.99 ~ I paid 12.49!
I LOVE heels, Love LoVe LOVE them!  They turn my 5'4" into 5'8" 
(and save me oodles of time hemming all my pants!)
Super cute work shoes for this summer & make my feet very happy!!!

Fun At The Park


The weather is warming up a bit around here!
Whoever stole SPRING has FINALLY returned it! Yahoo!
We took a walk to the nearby park and enjoyed an evening moving our bodies & playing like we haven't played in what seems like FOREVER!
It was WONDERFUL to say the least!

I got some good snapshots of the boys! I love outdoor pictures, don't you? 


(try to ignore the snot & drool...)

 Caleb LOVES to pose with his baby brother!

This kid is quick & surprisingly coordinated when it comes to dribbling a soccer ball!


Our walk home was interrupted by a train. Caleb & Keston were so excited when they saw the crossing bars lowering, the RR lights flashing & could hear the train in the distance!

 But once it was right in front of us, Keston decided it was TOO LOUD!!!

Wednesday, April 13, 2011

Welcome Home Wednesday... Hair & Hare

Today is all about Hare/Hair... 
Spring is here - check out the babies in our backyard. They all survived a graze by the mower, Momma Bunny dug her hole nice and deep.  We couldn't decide if there were 5 or 6 of them... Don't worry we didn't disturb them (other than maybe the flash of the camera)
 The bunny lover in me wants to let them live but the gardener in me wants to let our dog run loose...
Now onto the really important Hair ;-)  I am in dire need of cut/color/highlights!  Its been since December since I've done anything (bad I know!)  What should I do?  I dug up some pics to see if maybe it would sway me one way or another...
This is from a couple weekends ago... Long, slightly curled, medium brown.
LOL - not sure what I was thinking... Long & Straight and dark blond
This is the SHORTEST I have ever had my hair & its really blond!
           Longer, Light Blond, slightly curled with bangs (check out my adorable nephew!!)
Medium Length - dark with highlights
Long and dark (I wish the darkness would stick but it won't ~ always lightens in a week)

NOW - what do I do?  
I'm not sure.. 
I'm super lazy Mon thru Fri its in a knotted pony tail ~ weekends I try to make it look cute ;-)
What do you think?
-Short or Long or Medium
-Darker or Lighter

Tuesday, April 12, 2011

Making Polka-Dot Garland (a kinda-sorta tutorial)

For Eli's 1st birthday party I took a stab at making polka-dot garland. Rather than using streamers I thought this would be something fun, different...and reusable! I had everything I needed on-hand so it was cheap, and it was super-super-easy to make! I'm so excited to re-use it for future parties!

Since this was a trial for me, I snapped a few pics during the creation process...
so here we go with my 1st kinda-sorta tutorial!

I came up with 2 kinds of decorations.

1. The short single dot strands (that I hung from doorways)

2. The long double dot garland. (that I stretched across the room & attached to balloons)


How did I do it?

 First I chose 3 colors of felt that I wanted to make my dots with and gathered my supplies..
FELT
CIRCLES TO TRACE - I used 3 different sizes
FABRIC MARKER
SCISSORS
THREAD

 I laid my circle guide onto my felt & traced a bunch of circles with my fabric pen...a fancy circle cutting tool would've been handy, huh?! (boy would I love one of those!)

Then I cut out my circles.
*Moving your fabric as you cut, rather than moving your scissors, makes the edges of your circles much nicer.

The amount of circles you need depends on how close you want your circles to be & how long you want your garland to be.

Here's where I stopped with my pictures.

Next, using my sewing machine, I stitched each felt polka dot from one end to the other. When I reached the end, I continued to let my machine stitch so that they strands of thread would twist together. I did this for approx 3-4 inches and then began stitching another polka dot.

The first few chains of polka dots I made I stitched with brown button thread. The weight & thickness of it was great but the brown looked terrible on my felt. So I went to using regular white thread.
When I make it again, I'll use white (heavy duty) thread.
(or it would definately work to use a heavy string & fabric or hot glue - great option for someone who doesn't want to sew!)


I also started by stitching one dot at a time and didn't like how thin it looked...plus the dot would shift & slide..making the spacing uneven.That's when I decided to double layer the dots. Much better!
I love how it turned out! Hopefully the next time around goes even better since this one was my first.
It was so quick, so easy & definately fun to have up to decorate Eli's 1st birthday party!!


 PaRtY TiMe!!!


Printer Friendly View

Related Posts Plugin for WordPress, Blogger...